The other day I used a lot of THRIVE to make dinner and dessert! It was a lot of fun trying new things :).
Pictured above was dinner, drink, and dessert from that day -- and, being that I don't get super motivated these days until after 2 p.m., that's when I started working on all of this! Definitely couldn't have done that much without my THRIVE!
First up: drinks! The truth is, we are
mainly water drinkers in my household. But every once in a while, a yummy fruity drink sounds really appealing. So I can understand why experts recommend having some juice mixes as part of your home store. I have used this
THRIVE Simply Peach drink mix for a variety of juices as well as putting it into my smoothies. I needed the juice for the dessert I'd decided to make, so I went ahead and made up a full batch and enjoyed some of the juice with dinner :). Simply follow the guidelines on the #10 can (2 tablespoons THRIVE Simply Peach to 1 cup water) and
oila! You have a simple, but yummy juice. It's a real treat for my toddler when she can have juice with dinner. And she gulps it down fast.
What I love?
IT HAS NO ARTIFICIAL COLORS! That's such a win, when so many powdered drinks are full of artificial colors!
Next up: dinner! It was one of those "what am I going to make for dinner?" days... I mean, I had my menu list all planned out -- like I do most pay periods. But I flat out forgot to pull meat out to thaw. And this is one of the reasons I love my THRIVE meats. They are ready to use, even at the last minute. So I found a recipe on the THRIVE Life website for
Chicken Broccoli Alfredo. You can follow that link and get the original recipe. You can even make this as a jar meal. Here's how I did it (with what I had on hand):
CHICKEN BROCCOLI ALFREDO
1 heaping cup shell macaroni
1/2 cup
THRIVE Bechamel Sauce
2 tablespoons
THRIVE Sour Cream Powder
1 1/2 teaspoon
THRIVE Chopped Onions
1/2 teaspoon garlic powder
1 1/2 teaspoon Italian Seasoning*
1 teaspoon
THRIVE Chef's Choice Seasoning
1 1/2 teaspoons
THRIVE Chicken Bouillon
1 cup
THRIVE Seasoned Chicken Slices
1 cup
THRIVE Broccoli
1/4 cup shredded Parmesan Cheese*
Place all ingredients except Parmesan Cheese in a saucepan with 4 1/2 cups water. Allow to sit for 10 minutes. Bring to a boil, reduce heat to low and simmer 10 minutes or until pasta is done, stirring occasionally. Stir in Parmesan Cheese until melted and incorporated.
*Denotes other ingredients available through THRIVE Life.
So the things I loved about this dish:
1. It was all in one pot.
2. It was easy to throw together.
3. I didn't have to worry about thawing meat, etc.
But I have to be honest... I personally didn't especially like this meal. I think it was the Italian Seasoning. Granted, I don't have THRIVE Italian Seasoning, so maybe that makes a difference. But I just didn't enjoy that flavor. My toddler
really didn't like it. My husband, however, said he didn't think it was bad. So I guess it's all in personal preference. But I have to share my true feelings, and those are that I don't plan to make this again.
For some reason, anytime I make pasta, I feel like I need bread to go with it. Clearly, I did not start my meal-making in time to do a yeast bread. And even throwing together scratch biscuits seemed like a lot of effort (lazy, huh?). But then it occurred to me I could do the next best thing! Sort of scratch biscuits! I grabbed my Honey Whole Wheat Mix and decided to try making biscuits with it! A quick glance at the ingredients told me it already had shortening in the mix, along with flour and salt... Basically I just had to add a leavening agent. And that was simple enough with baking powder! So here's my recipe:
HONEY WHOLE WHEAT DROP BICUITS
2 cups
THRIVE Honey Whole Wheat Dough Mix
3 teaspoons baking powder*
1 1/4 cups milk*
Place the dough mix into a medium bowl and add baking powder. Stir well to combine. Add milk and mix. Drop by heaping tablespoons onto a greased cookie sheet. Bake at 450 for 9 minutes. (I got 9 biscuits.)
*Denotes other ingredients available through THRIVE Life.
You can add less milk if you want to make "cut out" biscuits. But I like the drop biscuits, because they are fast.
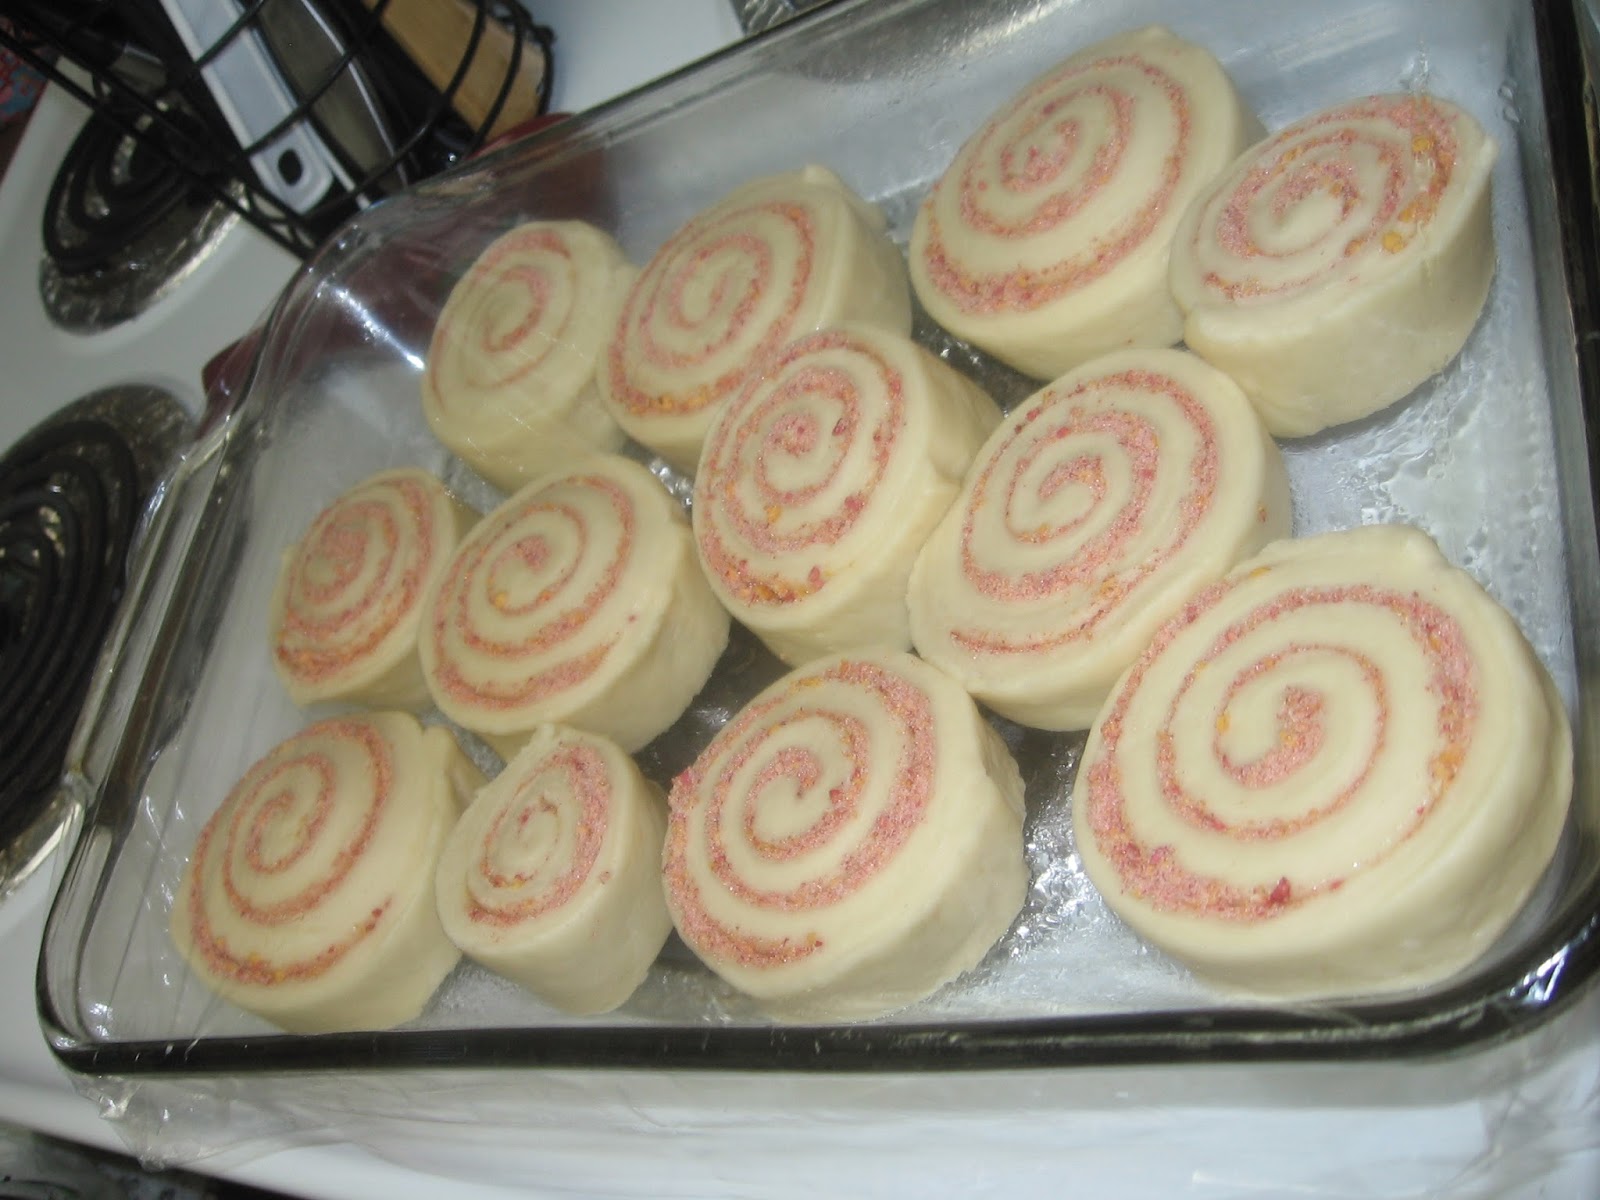
And finally... What I did for dessert ;). Which was just a random idea I had, so I ran with it. And it's also a pretty decent snack for a toddler! I'm calling them Strawberry Peach Jiggly Squares :).
STRAWBERRY-PEACH JIGGLY SQUARES
4 cups
THRIVE Simply Peach, prepared (this is 4 cups water plus 8 tablespoons THRIVE Simply Peach drink mix)
4 packets unflavored gelatin
1/2 cup coarsely chopped
THRIVE Strawberry Slices
Bring 3 cups of prepared juice to a boil. Place one cup of prepared juice in a large bowl. Sprinkle all 4 packets of gelatin over juice. Allow to sit for a minute. Pour hot juice into the bowl and stir until all gelatin is dissolved. Stir in THRIVE Strawberry Slices. Pour into a 9x13 pan (I usually spray with cooking spray for even easier release later!). Refrigerate until firm. Cut into squares.
Again, one thing I
really love about this is that there are no artificial colors! Don't get me wrong, I'm not great at staying away from all the artificial colors. And who doesn't love Jell-o Jigglers? But if I can come up with something just as fun and kid-friendly
without the fake stuff? I'm totally in!
Anyway, I had a lot of fun experimenting and playing around and trying new things. And I just really love how THRIVE Life has often come to the rescue on those days when I am not as prepared as I
could be to make dinner ;)!
Happy THRIVEing! And, as always, contact me at THRIVEingNilla@gmail.com with any questions or to place an order to help your meal-times not be a conundrum when you forget to thaw the meat ;)!!!